")
")

Main window
This is the main window of TIImageTool; it follows the classic UI design with a menu bar and a main panel with tabs. 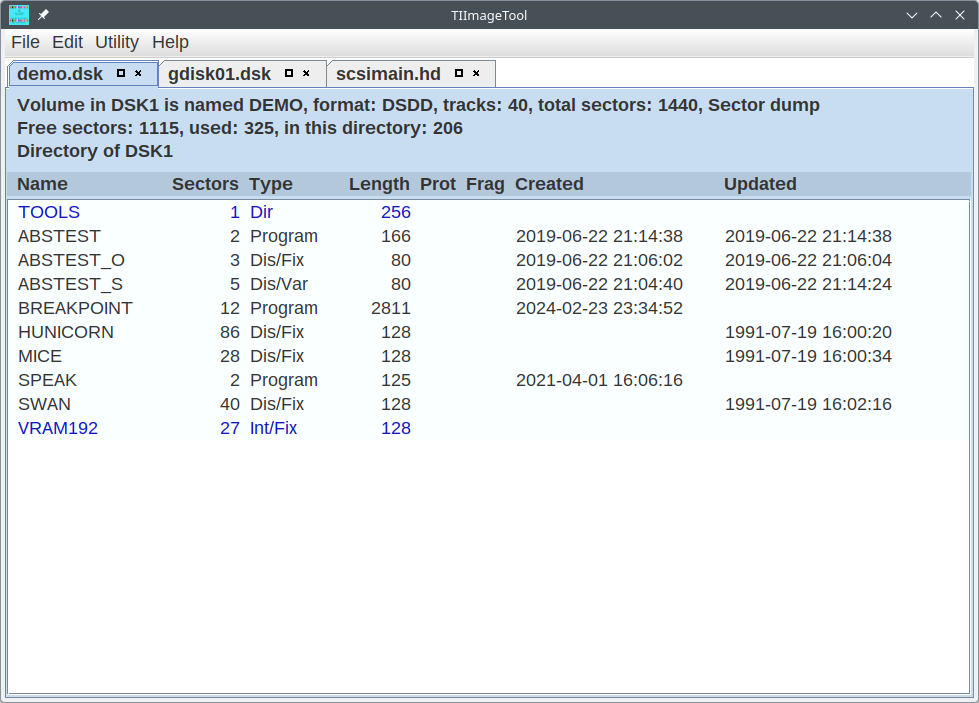
We will have a closer look at the main menu later. We see three opened disk images with their respective file names: demo.dsk, gdisk01.dsk, and scsimain.hd. Each of them can be brought to the front by clicking on its tab. We call the tabbed panel a view of the opened image. You can open several views of the same image, which is useful for operations between different directories of image. Also, the term volume is used to refer to the contents of a formatted medium.
Views are closed by clicking on the "x" symbol, or detached by clicking on the square symbol. The tab is then shown in an own window, which makes it easier to compare opened volumes side-by-side.
The directory listing mimics the output of the DIR command in MDOS on the Geneve, and it is also similar to common disk explorer "detail" views. The header line "Volume in ..." is also inspired by typical disk manager programs on the TI and the Geneve.
Header
The header tells us that the currently focused image is a floppy disk image, as it says "DSK1". The device name indicates the kind of image:
- DSK1 means floppy image
- SCS1 means SCSI image or an unpartitioned IDE image
- IDEx is the x-th partition of an IDE image
- HDS1 is a MFM hard disk image used with the HFDC (Hard and Floppy Disk Controller)
It then shows the name of the volume, its format in terms of sides and density, the track count, the capacity by sectors, and the format of the image file. The sector dump is the most common image format: It consists of a sequence of sector contents from sector 0 up to the last sector.
Next, it informs us how many sectors are free and how many are occupied. Since there may be subdirectories as shown here, the visible files may not sum up to the totally occupied sectors, so this is also indicated.
Main panel
Each line in the main panel (below the header) describes one file system entry. Subdirectories are printed blue, and you can enter the subdirectory by double-clicking on it. You may have noticed that the files are sorted alphabetically, but the directories are always listed first.
There is another entry in blue, the last line. This file is actually an Archive file, created by the Archiver tool. You don't need a special tool to unpack it; this is all done inside TIImageTool. If you want to see what is inside, just double-click on it like on any other directory.
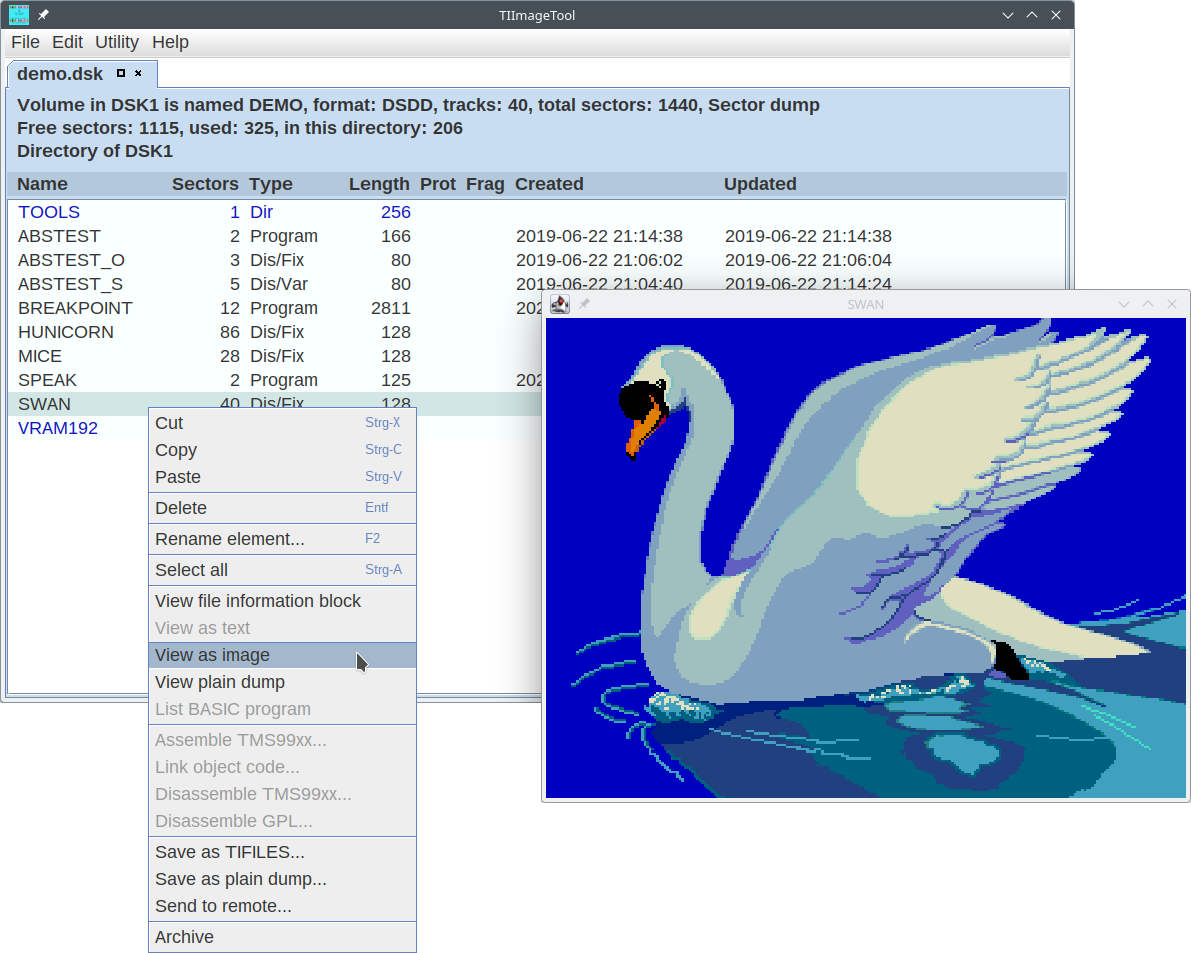
Apart from these two entries, the other ones are usual files with varying formats. Program files are binary files, machine language or BASIC program. Dis/Var 80 files are typically readable text, sometimes also assembly source code. Dis/Fix 128 files are often picture files.
Menus
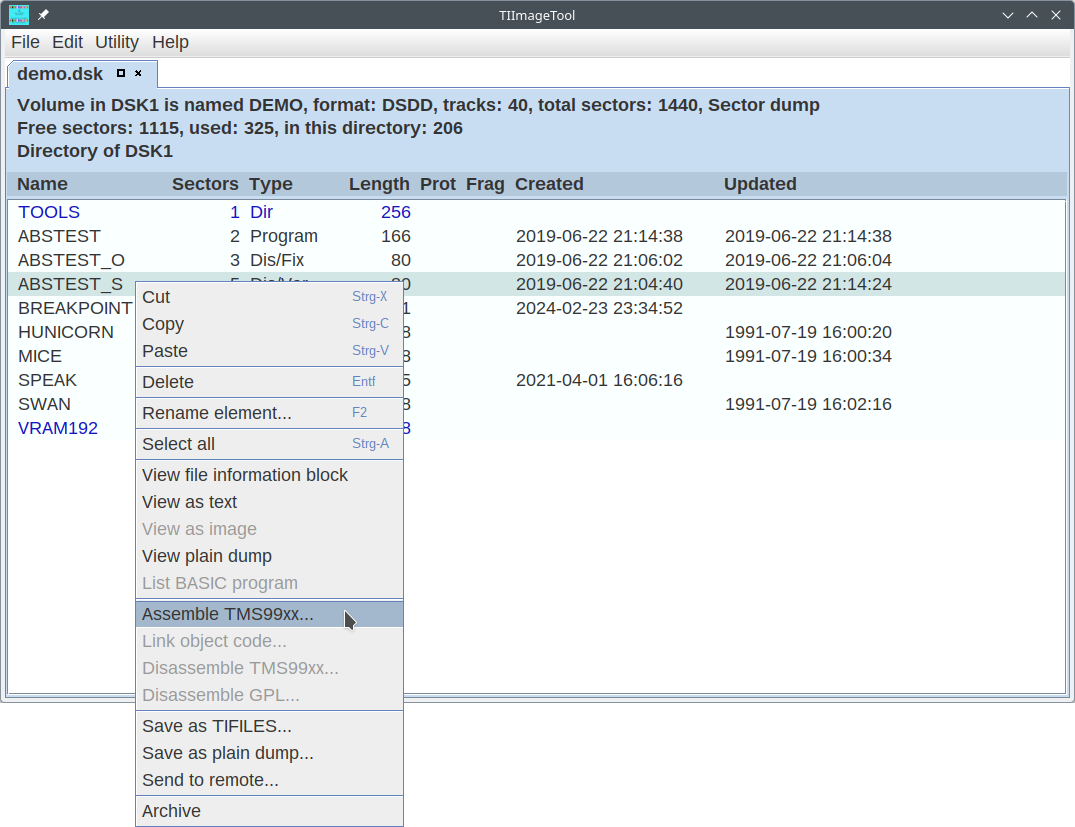
On the left you can see the context menu opened over the file ARCTEST_S. Possible actions are cutting / copying the file, renaming it, working with its content, sending/saving it, or archiving it. For instance, the screenshot shows that we are about to invoke the assembler (external tool) to create an object code file from this assembly source code file.
Available operations depend on the selected entries. For instance, if you select multiple text files you can open each one of them in one go. If you select a BASIC file and a text file together, however, there are less options because you cannot treat a text file like a BASIC file. The program determines which options may be reasonable to use for the current selection.

This submenu can be activated or turned off in the Preferences section.
I will provide some more information about the items of the dropdown and context menus in separate sections.
Operations on the content
When a volume is shown in a view in TIImageTool, you can use the mouse to operate on its contents (files and directories).
Double-clicking
Double-clicking on a directory enters that directory, and its contents are shown in the same view. Getting back in the file system tree is possible by double-clicking on ".." (two dots), representing the parent directory. Floppy disks may have up to three directories (beside the root directory which contains all elements); however, floppy subdirectories are only supported by Myarc floppy controller or the GeneveOS.
Copying and moving
Copying and moving files and directories is possible in the way that you know from usual file explorer tools: Single click on a file, keep the mouse button pressed, move the pointer to the target window, and release the button (also known as "drag and drop"). As only one tab is active at a time, you have to detach one of the views so that you can navigate to the target volume.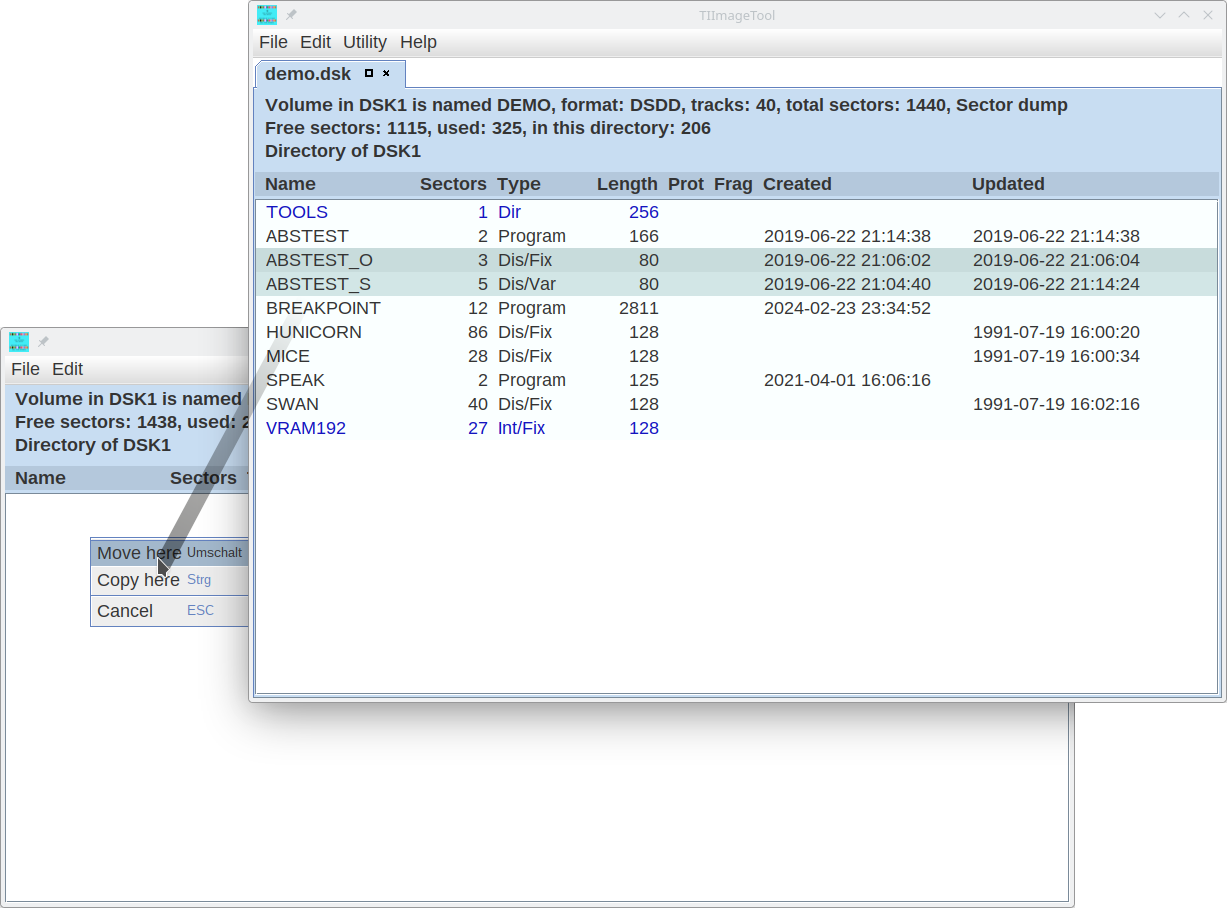
Two operations are defined for the drag-and-drop gesture: copying and moving. Moving will remove the dragged element from the source volume, while copying leaves the source volume unchanged. If you just drag the element without pressing a button, TIImageTool will open a small dialog window where you can select whether you want to copy or move, as shown on the right.
If you press the Shift button during dragging, a move operation is assumed, while Ctrl is used to indicate a copy operation. In these cases, the dialog window does not appear. However, due to some limitations in the Java Swing implementation, this may not correctly work on macOS so that you always get a dialog window.
Altogether, there are three ways to copy or move files:
- drag and drop, as just explained
- mark the element(s) and select the copy or cut operation in the context menu
- mark the element(s) and type Ctrl-X (cut) or Ctrl-C (copy)
The second and third options is a two-phase operation. The first phase is performed by marking and initiating the copy or cut operation, and the second phase requires you to select a target volume (by clicking on its tab or focusing on the stand-alone window) and then you have to type Ctrl-V (paste) or select the paste function in the context menu.
Note that you can copy or move more than one element at a time by marking the respective elements. Marking is done by single-clicking on the file, and to mark several files, you can press the Ctrl or Shift buttons which allows for marking one element after another, or a range of elements. Also, you can copy whole directories just like files.
Exporting and importing
When you drag your file outside of TIImageTool, over your desktop or in another folder on your PC drive, an export operation is done: The file will be saved to your PC as a TIFILES file. This is an external file format for TI files which makes it possible to import that file in another image or to use it with emulators like Classic99. Vice versa, you can drag a TIFILES file from your PC file system into a volume opened in TIImageTool. This will import the TIFILES file so that it can be used on the image further on.
Undo, Redo, and Save
This is one of the most salient changes to TIImageTool from the previous versions to version 3: All operations are done in memory, not on the image file. That is, when you copy or move a file, the change is immediately visible in the views, but the change is not yet persistent, and the image file has not been changed yet. If there was a change, an asterisk (*) is put before the image name in the tab. When you attempt to close the image or to leave TIImageTool, you will be warned to save your changes.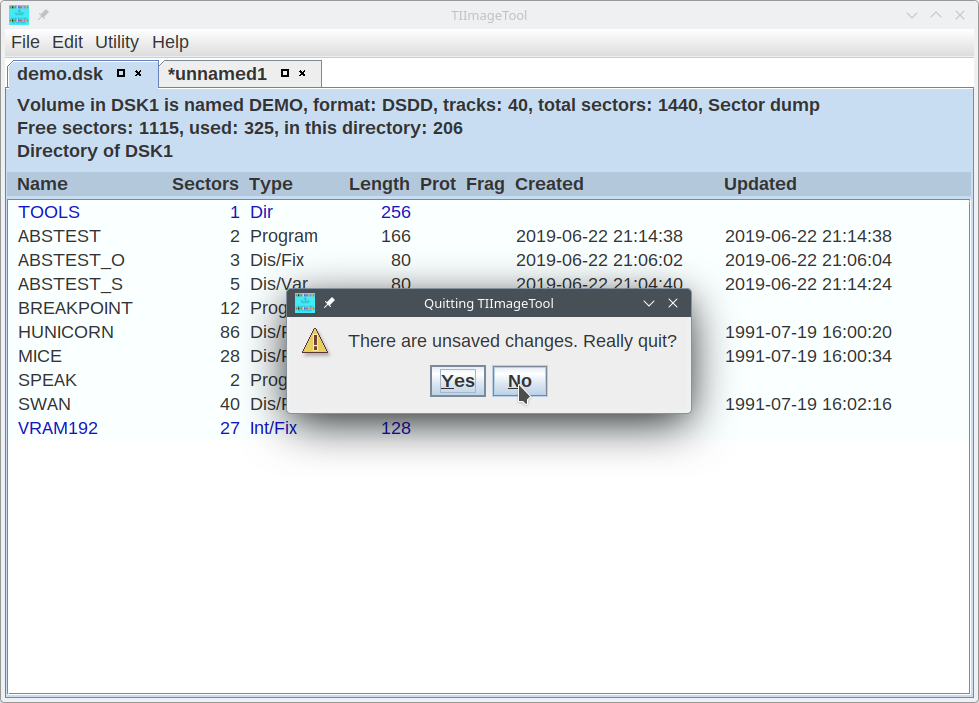
When you create a new, empty image, this image will be held in memory as well, until you save it. Before, these memory images are shown as "unnamed". This may come handy when you just need an image for a quick check or for temporary use.
As long as the changes are not saved, you can get back to a previous state of the image by using the undo function in the Edit menu; you can also use the Ctrl-Z key combination. Note that undo operations are performed on a single image (and on all of its open views), so when you want to undo a change that affects two images, you have to undo the operation on both. This is the case when you move a file from one image to another.
But you can not only undo your changes, you can also redo the change, should you change your mind - undoing the undos. In that way you can get back to the situation before you performed the first undo on that image. The redo function can be found in the Edit menu together with the undo function, and the corresponding key sequence is Shift-Ctrl-Z.